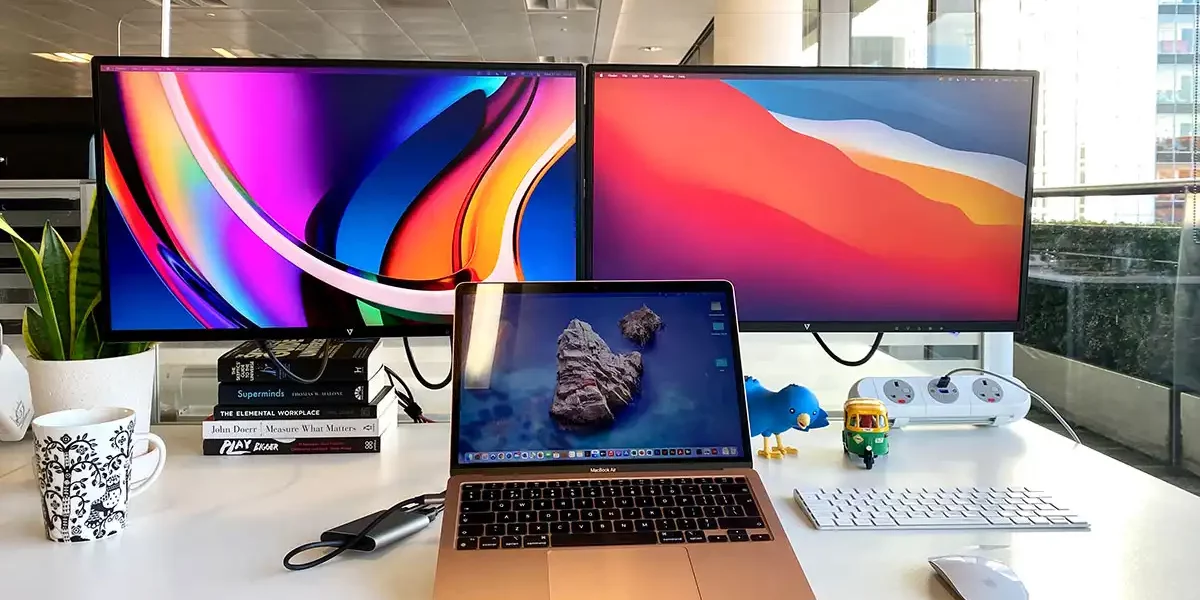
Dual monitors offer a significant productivity boost, allowing you to spread out your work across two screens and multitask more effectively. If you’re a MacBook user looking to harness the power of dual monitors, you’re in luck – setting up and using dual monitors with your MacBook is easier than you might think. In this guide, we’ll walk you through the steps to set up and use dual monitors with your MacBook, so you can maximize your workflow and get more done in less time.
Step 1: Check Compatibility
Before diving into the setup process, it’s essential to ensure that your MacBook model supports multiple displays. Most modern MacBooks support this feature, but it’s always a good idea to double-check compatibility to avoid any surprises.
Step 2: Connect External Display
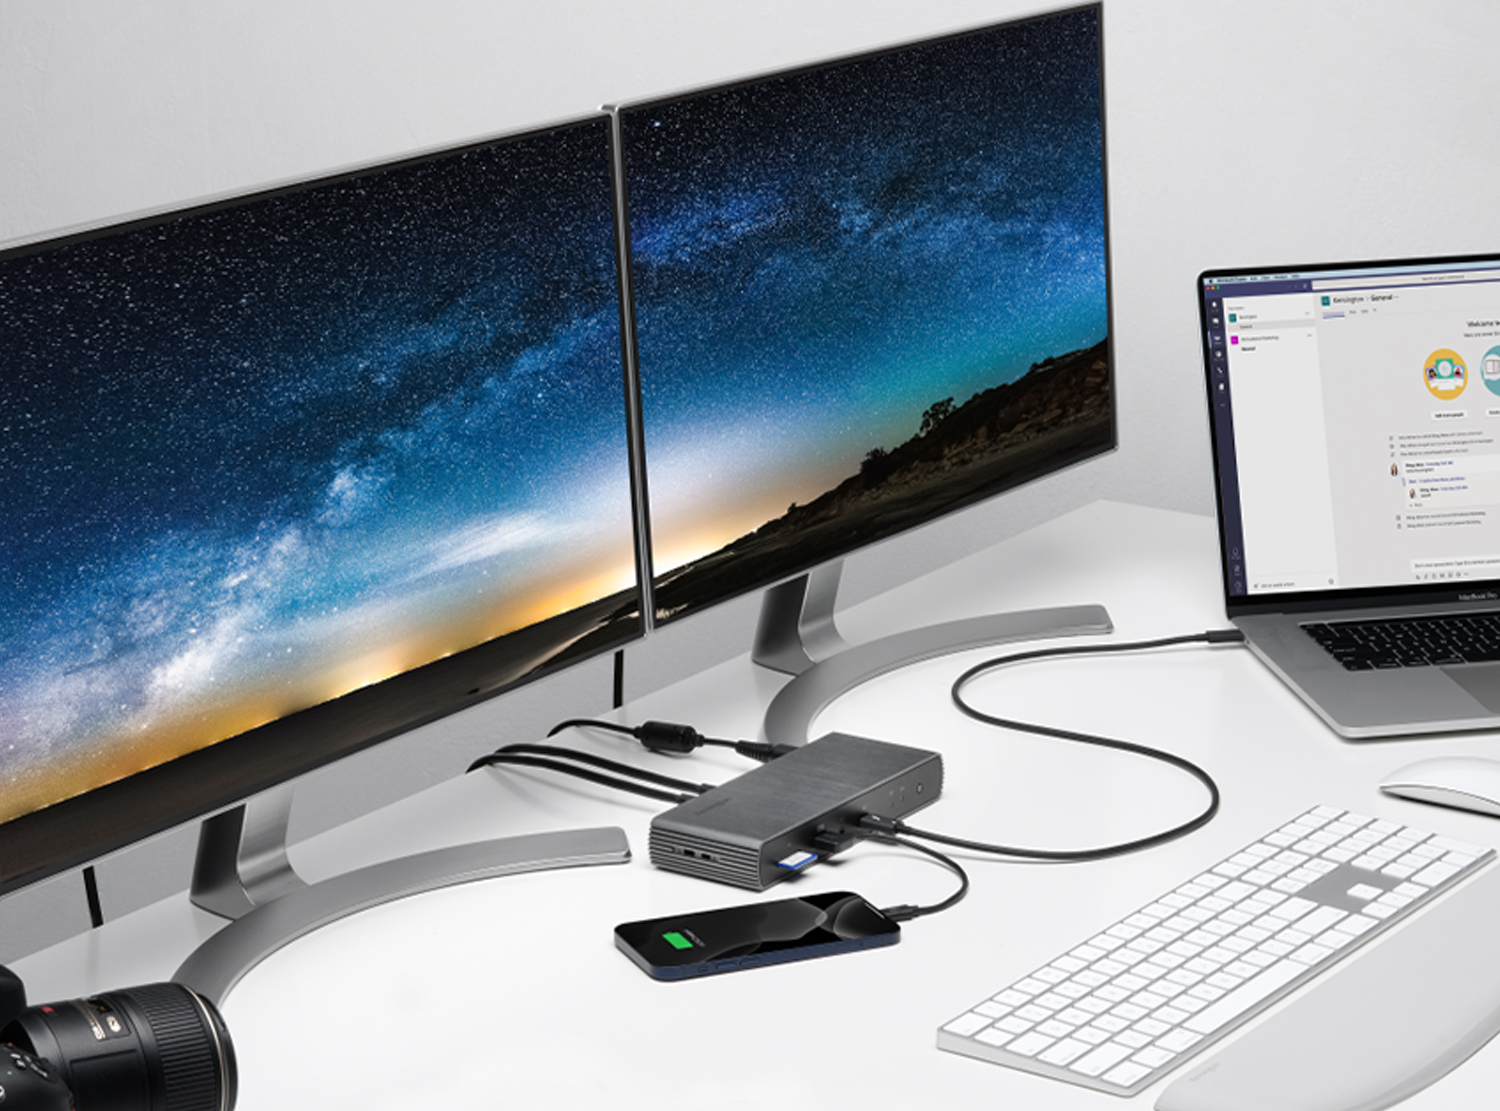
Once you’ve confirmed compatibility, the next step is to connect your external display to your MacBook. Depending on your MacBook model and the display ports available, you may need a Mini DisplayPort, Thunderbolt, HDMI, or USB-C adapter. Connect the appropriate cable or adapter to your MacBook and the external display.
Step 3: Adjust Display Preferences
After connecting the external display, navigate to “System Preferences” from the Apple menu and select “Displays.” Here, you’ll see both your MacBook’s built-in display and the external display listed. Adjust the display preferences, such as resolution, refresh rate, and color calibration, to ensure optimal performance and viewing experience for both displays.
Macbook : A Guide to Using Dual Monitors with Your MacBook
Step 4: Arrange Displays
In the “Arrangement” tab of the Displays preferences, you can arrange the position of the external display relative to your MacBook’s built-in display. Drag and drop the displays to set the desired arrangement, such as placing the external display to the left or right of your MacBook’s screen.
Step 5: Configure Display Settings
Under the “Display” tab, you can customize various display settings for each display individually. Choose the optimal settings for both displays to ensure a seamless viewing experience.
Step 6: Choose Display Modes
Select the desired display mode based on your preferences and workflow. Options include “Mirror Displays” mode to duplicate the contents of your MacBook’s screen onto the external display, or “Extended Desktop” mode to extend your desktop across both screens for increased workspace.
Step 7: Customize Dock and Menu Bar
In the Displays preferences, customize where to show the Dock and Menu Bar – on either your MacBook’s screen, the external display, or both. Tailor these settings to your workflow preferences for easy access to essential tools and applications.
Step 8: Adjust Screen Resolution
Fine-tune the screen resolution for the external display to match your preferences. You can adjust resolution settings in the Displays preferences or using the display’s own settings menu if available.
Step 9: Utilize Mission Control
Make use of Mission Control to view all open windows and spaces across both displays easily. Activate Mission Control using the dedicated key on your keyboard or a trackpad gesture for seamless navigation between apps and desktops.
Conclusion
By following these steps, you can set up and effectively use dual monitors with your MacBook, enhancing your productivity and workflow efficiency. Therefore, experience the benefits of a larger workspace and seamless multitasking capabilities as you tackle your tasks with ease.